DUVARA KUMAŞ YAZI YAPIŞTIRMA ( DUVARI KUMAŞLA SÜSLEME )
Güzel bir blogspot daha keşfettim. Sizinle paylaşıyorum. Blogu incelemek isterseniz TIK TIK => http://thisthriftyhouse.blogspot.gr
Iron on Wall Art
I have been meaning FOREVER to do something about the wall above my little guys crib. It looks like this:
(SORRY--bad camera phone picture)
What is so bad about this you might ask? Well NOTHING--if your name is LANDON--not COLTON. BUT if you are COLTON and this is YOUR bed--and you are now over 2years old and your older brother LANDON is now 4 and hasn't occupied this room orthis bed for 2 years--then THERE MIGHT BE A PROBLEM WITH THIS WALL!!
So the story goes like this:
I wanted to do COLTON'S name on the wall--but I frankly didn't want to spend the $ to buy any more wood letters that I would have to paint or mod podge or something. So I was waiting for a brilliant idea to move me into action.
Well it did.
I was BLOWN AWAY by the AWESOMENESS and BRILLIANCE of her idea. And I knew immediately that THIS was what I had been waiting for.
So I went online to a free font website and downloaded a fun font for Colton's name.
I figured out the size I wanted and printed each letter out.
Next I chose some fun coordinating fabrics to use and cut a square of each of them.
Next I got out the Heat-n-bond.
This is the kind you want to use--the one made for light fabrics:
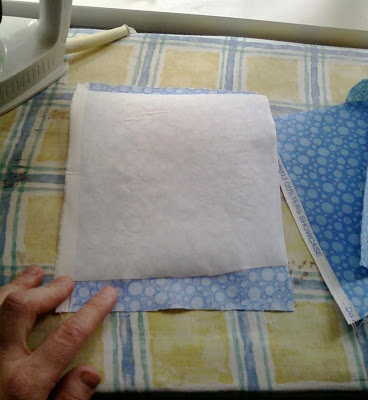
Then I pressed a square of Heat-n-Bond to the back of each of my fabrics.
Next I traced my lettering onto the paper making sure to trace it so that when it is placed on the wall it will be going the right way.
This is always the tricky part of using Heat-n-Bond. You always have to think backwards--which I always have trouble with.
If you are smarter than me and can think backwards better--you can probably trace your lettering on the heat-n-bond before you put it on your fabric--but I have learned from past experience that I like to have the fabric on--so I can really see which way everything is going to come out.
So here I am tracing my letters.
Here they are all traced--see how they are all backwards?
And here they are all cut out--facing forwards:
Next all that was left to do was IRON THEM TO THE WALL!!
And I must say--it is a funny thing to iron a wall. Funny--and GENIUS!!
I started in the middle of Colton's name and worked out--so that I would make sure to be centered on the wall space--and to make sure I stayed more level.
I lightly pressed each letter first to make sure I liked the placement--then pressed it for 20-30 seconds.
And I am SO IN LOVE with how it turned out!!!


